More than ever, there seems to be a strong trend toward people switching to renewable energy. A report by the International Renewable Energy Agency (IRENA) shows a global surge in renewables, with solar leading the pack. In the US alone, solar installations grew by 22% in 2022, according to the Solar Energy Industries Association (SEIA).
As the price of eclectic bills touched new heights, more and more homeowners are switching to renewable energy. Solar energy seems to be the most chosen because of its abundance and affordability. Solar energy is considered the most convenient renewable energy as it protects our environment and saves customers cash in the long run. This continuous uptrend shows no sign of slowing down.
As a solar panel service provider, you must ensure you’re not left behind. We have listed down the 21 most essential tools that your technician must be equipped with for solar installation projects. Let’s get started right away.
Why is it crucial to be equipped with the essential tools?
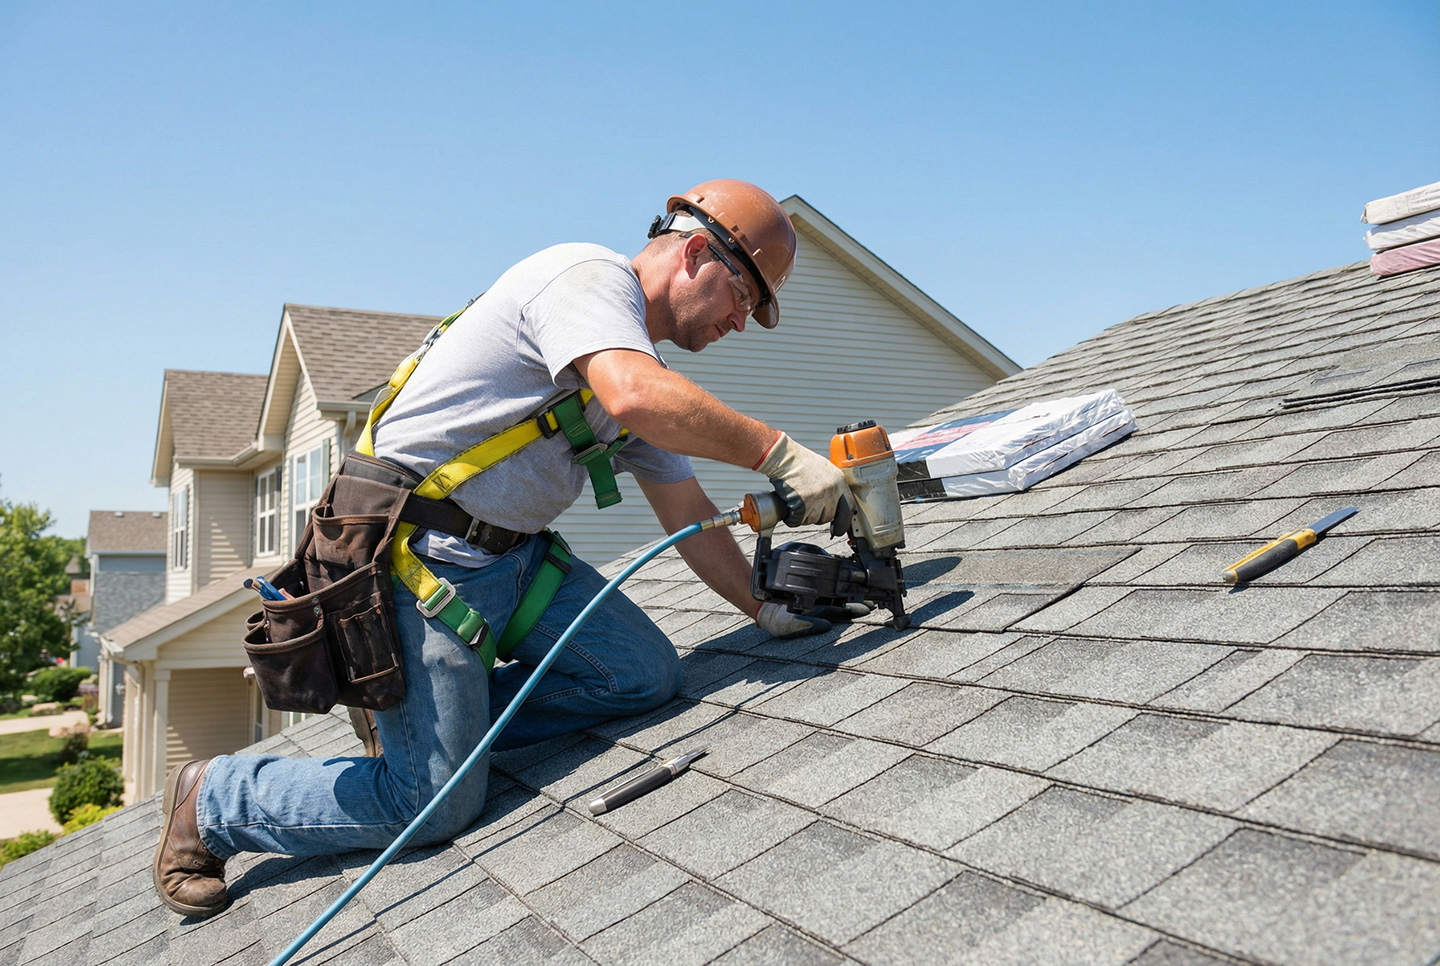
Equipping oneself with the essential tools is crucial for various reasons when it comes to solar installations. First and foremost is the safety of your technicians. Solar installations often involve working at heights and handling electrical components. To mitigate the risk of falls and injuries, it’s imperative to utilize proper safety gear such as harnesses and ladders.
Secondly, efficiency and accuracy are also key considerations. Using the appropriate tools like levelers and drills with the correct bits ensures that installations are carried out efficiently and with precision. This not only facilitates optimal system functionality but also maximizes the capture of solar energy.
Another crucial aspect is time management. Your customers may feel frustrated when your projects take longer than expected. Having the necessary tools readily available helps to avoid delays caused by missing equipment or the need to improvise. This translates to a quicker installation process, benefiting both installers and clients.
Additionally, the use of tools such as multimeters enables pre-emptive identification of potential issues during both installation and maintenance. By catching problems early on, larger complications down the line can be prevented, thus ensuring the overall success and durability of the solar system.
21 Must-have tools for solar installation projects
To make them easily digestible, we have broken down the tools required in each and every step of the solar installation process. Let’s get started.
Here’s what your solar inspectors need
The first step of a solar installation project is a site inspection. During this visit, technicians will assess the customer’s location and take measurements to determine the best placement for the solar panels. While performing this task, technicians may need tools that could assist them or aid them in performing their tasks better. Here are some of the essential tools they’ll need while inspecting a site.
1. Measuring tools
Tape measures are necessary in every technician’s tool kit. In solar installation projects, a roof measuring tool helps ensure there’s enough space for the appropriate number of solar panels. This allows engineers to design a system that maximizes your customer’s roof space and energy production.
2 Inspection tools
Technicians will visually inspect the roof to assess its condition, including material, age, and slope. They may also use a tape measure to confirm the roof’s dimensions. This ensures that it can structurally support the weight and size of the solar panels.
3. Shading assessment tools
Shade meters measure the amount of sunlight hitting your customer’s roof throughout the day. This helps determine how much solar energy your system can produce. Shade from trees, buildings, or other structures can significantly reduce electricity generation.
4. Electrical system evaluation tools
Technicians will inspect your electrical panel to ensure it can handle the additional power generated by the solar system you are installing. They may also use a multimeter to measure the voltage and current of your electrical system. This ensures your electrical system can safely handle the extra power.
Tools required during solar panel installation
After completing the site assessment and finalizing the system’s design, it’s time to move on to the installation phase. Safety is of the utmost importance here, as you will be working at heights and with electrical components. This stage requires a more extensive toolkit to ensure a safe, efficient, and successful solar panel installation. Let’s explore the essential tools and understand their role in the process:
5. Safety helmet
This hard hat shields your technician’s head from falling debris or objects dislodged during drilling or panel placement. It’s a crucial piece of equipment to prevent serious injuries on the job site.
6. Safety harness and lanyard
This vital equipment acts as a lifeline, anchoring your technicians to the roof and preventing falls. The lanyard connects to a secure roof anchor point, ensuring you can work safely while maintaining mobility.
7. Safety glasses
Working outdoors exposes your team to dust, debris, and potentially harmful UV rays. Safety glasses shield eyes from these hazards, protecting your vision from irritation and long-term damage.
8. Work gloves
These gloves protect your technician’s hands from cuts, scrapes, and electrical hazards. They provide a barrier against sharp edges on tools and materials while also offering some insulation against electrical currents.
9. Drills
These are used to create precise pilot holes in the roof structure for mounting brackets. Different drill bits might be needed depending on the roof material (composition, shingles, metal roofing, etc.). The appropriate drill bit ensures clean holes for secure and stable installation of the brackets that will hold the solar panels.
10. Wrenches and screwdrivers
Once the holes are drilled, these tools come into play. The proper wrenches and screwdrivers are needed to tighten and secure the mounting brackets to the roof using appropriate fasteners like lag bolts. This creates a firm and stable foundation for the solar panels.
11. Level
Ensuring the mounting brackets are perfectly flat is crucial for optimal solar energy capture. A level guarantees that the brackets are precisely horizontal, allowing the solar panels to face the sun directly and maximize sunlight collection
12. Tape measure
Careful measurements are key to a successful installation. The tape measure verifies the accurate placement of brackets according to the pre-designed layout for the solar panel array. This meticulous measuring ensures the brackets are positioned precisely as planned, maximizing efficiency and ensuring a clean, professional-looking installation.
13. Lifting equipment
Depending on the roof pitch and accessibility, ladders, hoists, or cranes might be necessary to safely lift and maneuver the heavy solar panels onto the roof. These tools ensure the panels are transported and positioned securely without risk of injury.
14. Specialized panel clamps
These temporary clamps hold the panels securely during installation while allowing for precise positioning. Panel clamps act as a temporary helping hand, holding the panels securely while technicians maneuver them into the perfect position.
15. Ratchets and sockets
Once the panels are positioned, these tools come into play. Ratchets and sockets provide the leverage and control needed to tighten the fasteners that securely attach the solar panels to the mounting brackets, creating a firm and permanent connection.
16. Wire strippers and cutters:
Electrical cables need to be cut to the desired length for proper connection. Wire strippers and cutters remove insulation precisely to ensure safe and efficient electrical connections between the solar panels and the inverter system.
17. Crimping tools
These tools create secure and reliable connections between wires and electrical connectors using pre-insulated terminals. Crimping tools ensure a tight, reliable connection that prevents loose wires and potential electrical problems down the line.
18. Multimeter
Safety is paramount when dealing with electricity. A multimeter is a vital tool that measures voltage, current, and continuity. It allows technicians to check the electrical system for proper voltage, current flow, and continuity before connecting everything to the inverter. This crucial step helps identify and prevent any potential malfunctions or safety hazards before the system is turned on.
Essential Tools for Solar Panel Maintenance
19. AC/DC clamp meter
The AC/DC Clamp Meter offers a safe and efficient way to measure electrical current. Consistent readings indicate your system is producing power as expected. Deviations from these norms could signal problems like damaged panels, faulty wiring, or an underperforming inverter. Early detection with the clamp meter allows for prompt repairs, preventing further complications and keeping your system generating clean energy efficiently.
20. Digital multimeter
The Digital Multimeter acts as a multifaceted health check tool. It measures various electrical parameters, including voltage (both AC and DC) and current flow. Normal readings across these aspects signify a healthy system, while deviations can warn of potential issues. By diagnosing problems early on with the multimeter, technicians can take corrective measures to maintain peak system performance and prevent future breakdowns.
21. DC High voltage probe:
The DC High Voltage Probe is a specialized attachment for the multimeter. It’s designed for safe and accurate measurement of the high voltage DC electricity generated by your solar panels. Since high voltage DC is inherent in these circuits, ensuring proper measurement is crucial for assessing overall system performance. This specialized probe eliminates the risk of electrical shock for technicians while providing essential data on panel functionality.
Normal readings confirm everything is working as expected, while deviations suggest potential issues that require further investigation. These three tools, used together, form the foundation of a comprehensive solar panel maintenance checkup, keeping your system running smoothly and maximizing clean energy production for years to come.
Bonus: Zuper FSM for solar installation projects
Zuper FSM software is a powerful tool specifically designed to streamline operations for businesses like yours in the solar industry. Here’s how Zuper FSM can benefit your solar installations:
Optimize scheduling and dispatching for top-notch service
One of the standout features of Zuper is its ability to revolutionize scheduling and dispatch. Efficiently manage your team of technicians by optimizing their schedules based on location and expertise. With Zuper FSM, you can assign tasks seamlessly and optimize routes for faster completion times, ensuring that your team is always on track and delivering exceptional service. Real-time updates and clear communication channels keep everyone in the loop, enhancing coordination and productivity.
Wow your customers with a self-service portal
Moreover, Zuper FSM empowers you to elevate the customer experience to new heights. Offer your customers a user-friendly web portal where they can easily book appointments, track technician progress, and receive updates in real-time. This level of transparency fosters trust and enhances customer satisfaction, setting your solar business apart from the competition.
Ensures your team is always equipped with the tools they need
Additionally, Zuper FSM simplifies inventory management, allowing you to keep track of your solar panel inventory, tools, and spare parts in real time. By ensuring that technicians have the necessary equipment on hand and preventing stockouts, Zuper FSM helps you avoid delays and keep your projects running smoothly.
Get valuable insights into your daily operations
Zuper FSM provides comprehensive reporting and analytics tools that offer valuable insights into your solar installation projects. Track key metrics such as job completion times, technician performance, and customer satisfaction, enabling you to identify areas for improvement and optimize your workflow for maximum efficiency and profitability.
How to choose the right tools that fit your needs
Choosing the right tools is a crucial aspect of ensuring the success and efficiency of your solar panel installation projects. However, with the plethora of options available in the market, navigating through them can be quite overwhelming. Here’s a guide to help you make informed decisions when selecting tools for your solar installations:
Compare Quality vs. Cost
Investing in high-quality tools may initially seem more expensive, but they are built to withstand the rigors of solar installation work. Sturdy, well-made tools are less likely to break or malfunction during use, reducing the need for frequent replacements.
Cheaply-made tools may not meet safety standards, posing risks of accidents and injuries to your technicians. Prioritize tools that are designed with safety features to protect your team while they work.
High-quality tools are engineered for optimal performance, allowing your team to work faster and more efficiently. This translates to quicker project completion times and potentially lower labor costs in the long run.
Buy tools from a reputable brand
Choose tools from reputable brands with a track record of reliability and durability. Reading reviews and seeking recommendations from industry professionals can help you identify trustworthy tool manufacturers. Reliable tools are less likely to malfunction or break down, minimizing disruptions to your workflow and ensuring smooth project execution.
Select tools that are Compatible with your needs
Ensure that the tools you select are compatible with the specific requirements of solar panel installation work. Consider factors such as roof type, panel size, and electrical system specifications when choosing tools. Opt for versatile tools that can adapt to different installation scenarios, allowing your team to tackle a variety of projects efficiently.
Look for safety features
Prioritize tools that are equipped with safety features such as ergonomic handles, non-slip grips, and built-in protection mechanisms. Look for certifications and compliance with industry safety standards to ensure that the tools meet stringent safety requirements.
Pick tools that comes with warranty and support
Choose tools that come with comprehensive warranties and reliable customer support services. In the event of any issues or defects, having access to prompt assistance can minimize downtime and ensure that your projects stay on track. Consider the availability of spare parts and servicing options when selecting tools to ensure long-term reliability and usability.
Wrapping up
Equipping your solar technicians with the right tools is crucial for success. This guide provided a breakdown of essential tools for each project stage, from initial inspection to maintenance. High-quality tools ensure safety, efficiency, and fewer breakdowns, ultimately boosting customer satisfaction.
Remember, while a higher upfront cost may seem daunting, these tools translate to long-term benefits. Invest in your team’s success and embrace the switch to clean energy!


